
1 Preheat your oven to 175°C/ gas mark 4
2 Line and grease the sandwich tins, then beat the
butter, sugar and zest until pale and fluffy. Lightly
beat the eggs and pour slowly into the butter
whilst still beating. Then add the flour and beat until
incorporated.
3 Transfer the batter to the tins, try and make the
mixture around the edge of the tins higher than the
centre; this will make the cake more level.
4 Bake for 20-25 minutes, or until a skewer comes out
clean.
5 Whilst the sponges are baking make the sugar syrup,
bring the lemon juice & sugar to boil in a saucepan
and leave to cool.
6 When the sponges are cooked remove from the
oven and brush with some of the lemon syrup
and leave to cool. Then wrap in clingfilm and store
overnight at room temperature.
7 The next day make the buttercream, place the
raspberry puree in a saucepan and reduce a little,
chill until cool.
8 Place the sugar and water in a small saucepan over a
medium to high heat until the syrup reaches 121°C
– be very careful not to burn yourself.
9 Place the egg whites in a very clean bowl and whip
them at a low speed until frothy.
10 When the syrup has reached 121°C take off the heat
and pour into the egg whites in a steady stream
(keep the whisk running a low speed)
11 Whip the meringue until cool to the touch, then add
the butter a tablespoon at a time, beating after each
addition. When the butter has been added, turn the
speed up until it’s a thick, smooth and spreadable
mixture. At this point whisk in the raspberry puree
and extract.
12 Trim your cakes until flat and roughly the same
height, brush each layer with some of the sugar
syrup. Place the bottom layer on a cake turntable if
you have one, however I used a chopping board.
13 Put some of the buttercream on the bottom layer
and using a palette knife spread evenly to the edge
of the cake, place a few fresh raspberries on top of
the filling. then repeat for the next layer.
15 Put the next cake on top, making sure the flatter side
of the cake is facing up and gently push down to
release any air.
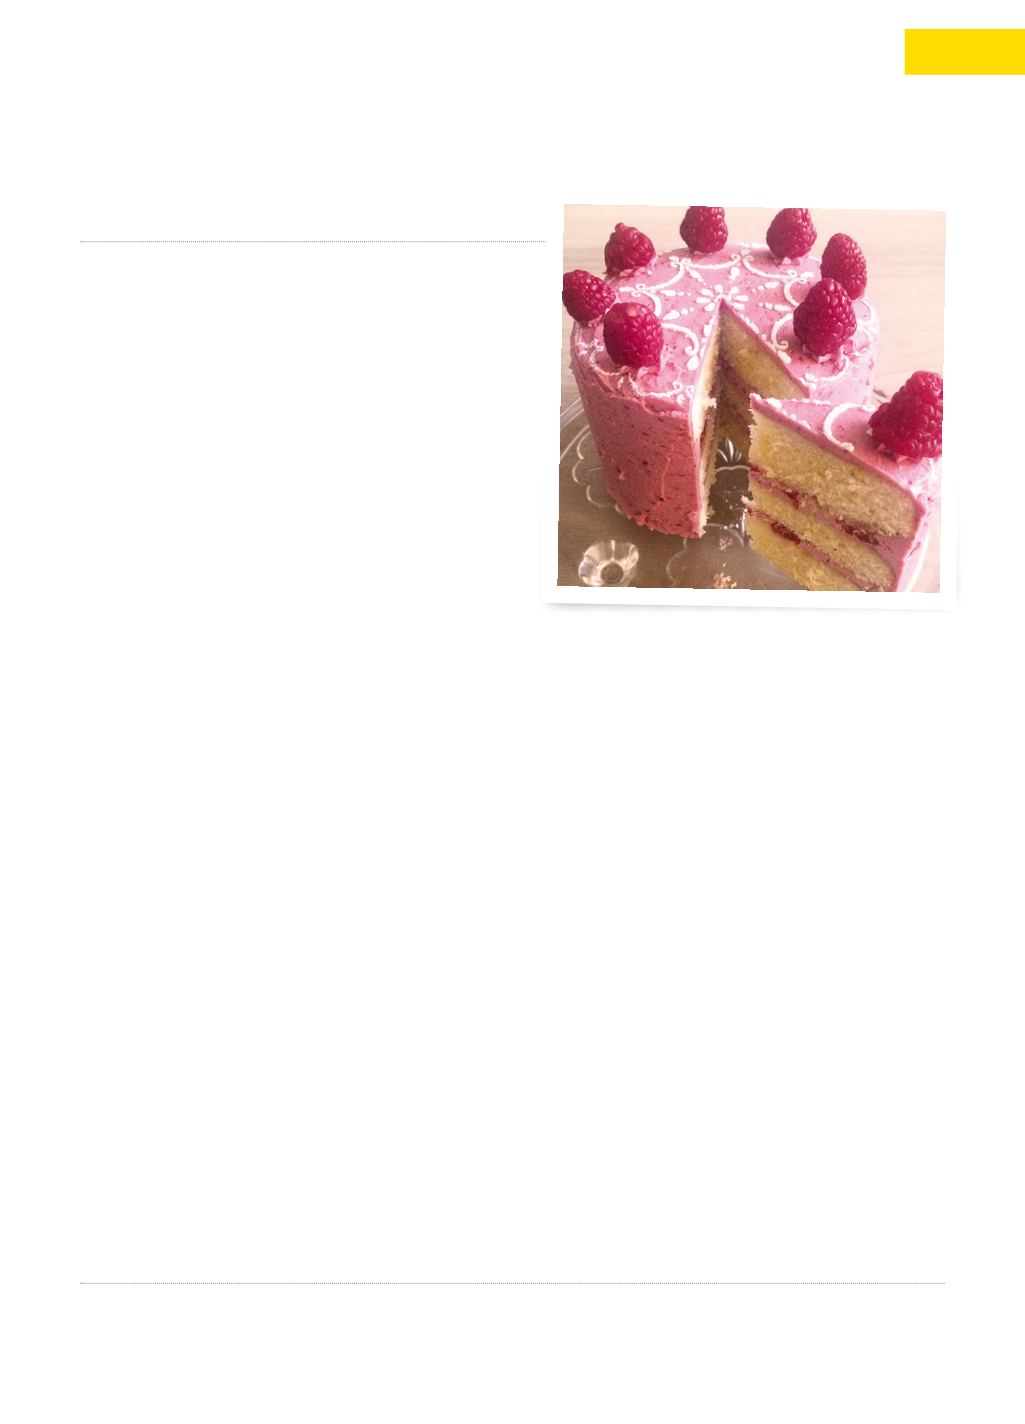
16 To decorate the cake you need to apply two
layers of buttercream. Place a generous amount of
buttercream in the centre of the cake, work from
the centre down the edges. Make sure there are
no gaps then, using a side scraper, (or your palette
knife) angle it at a 45° angle on the cake and rotate
your board as you scrape to make the edge smooth.
Keep doing this until you’re happy and pop in the
fridge for half an hour when you’re finished.
17 Then apply the second coat, using the same
principle as before.
18 Leave your cake to cool in the fridge for half an hour
or until the buttercream has set and then decorate.
I place a cake stencil on top of the cake and sieve
icing sugar over it, carefully removing the stencil
and piping small rosettes of buttercream around the
edges. Pop a fresh raspberry on top of each piping.
If you have any sugar syrup left over you can keep this
in the fridge for a month and use on any other sponges
you might make.
Lemon & raspberry layer cake
Impress your friends with this gorgeous tower of lemon and raspberries
Sponge:
• 200g salted butter • 200g caster sugar • Zest of 2 unwaxed lemons • 4 medium eggs • 200g sifted self-
raising flour
Lemon syrup:
• 150ml lemon juice (roughly 3 lemons) • 150g caster sugar
Raspberry meringue
butter cream:
• 270g caster sugar • 67ml water • 135g egg whites (roughly 3-4 large eggs) • 330g unsalted butter
• 160g raspberries pureed • Raspberry extract (to taste)
Decoration:
• Icing sugar • Fresh raspberries
Ingredients
Method
ALL ABOUT MAGAZINE |
RECIPE 15


